First, you will need to ensure that the NanoKontrol2 is setup to be used in MIDI CC mode.
To enable this mode, you will need to turn the unit on while pressing and holding down the SET MARKER and CYCLE buttons, and connect the USB cable from your computer to the nanoKONTROL2 to engage CC mode.
Once this has been done, you will be able to change the MIDI CC values being sent by the controller from the Korg Kontrol Editor. 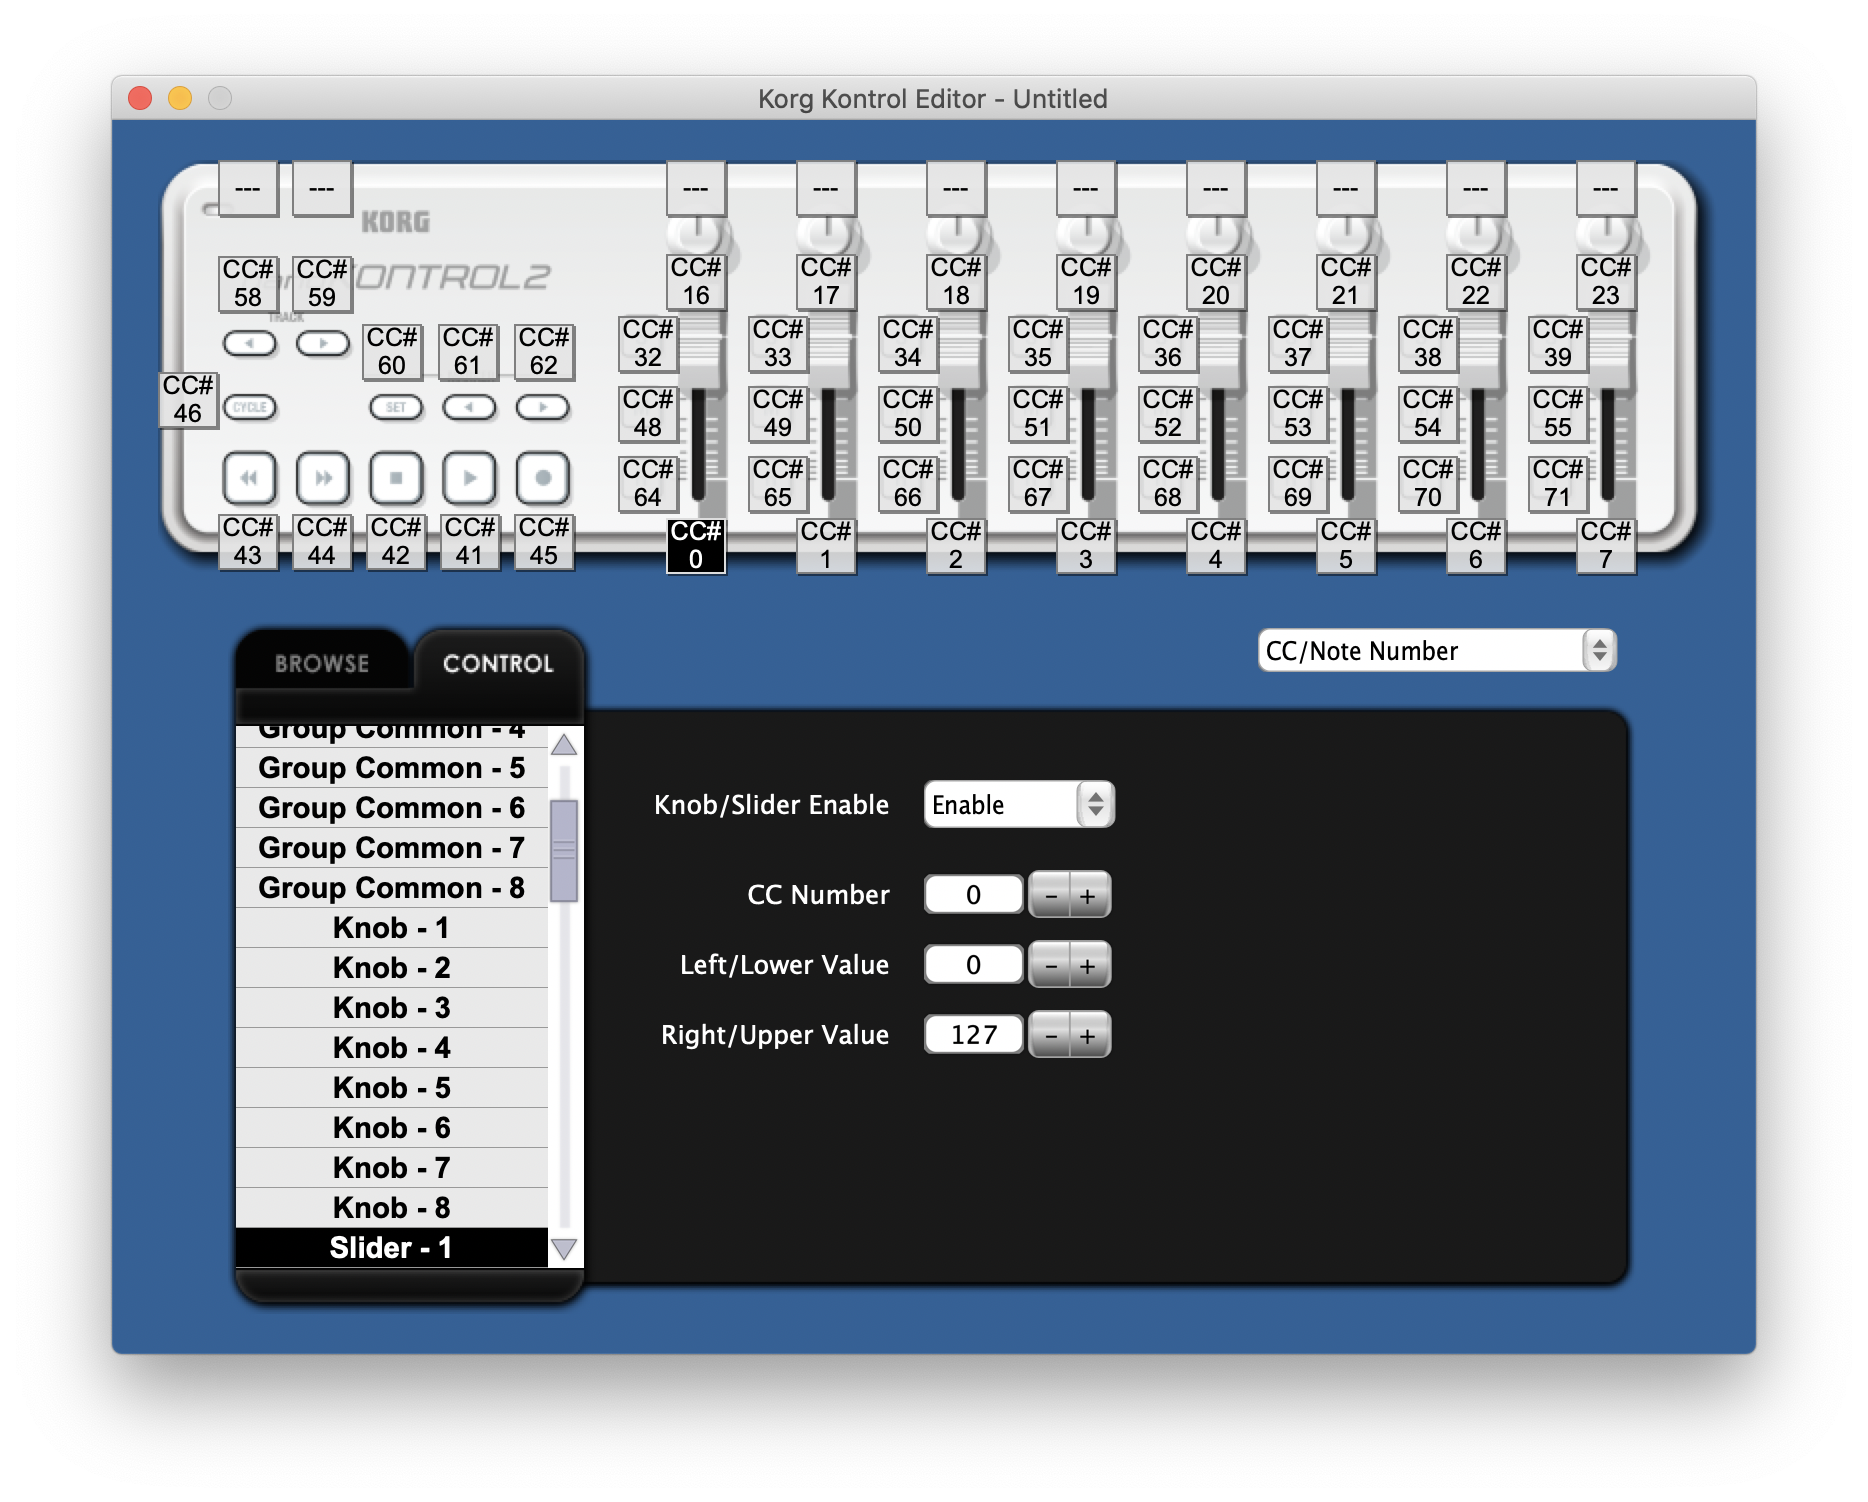
The CC value can be changed by clicking on a knob, fader, or button, and then changing the CC Number that appears in the section below the image of the controller.
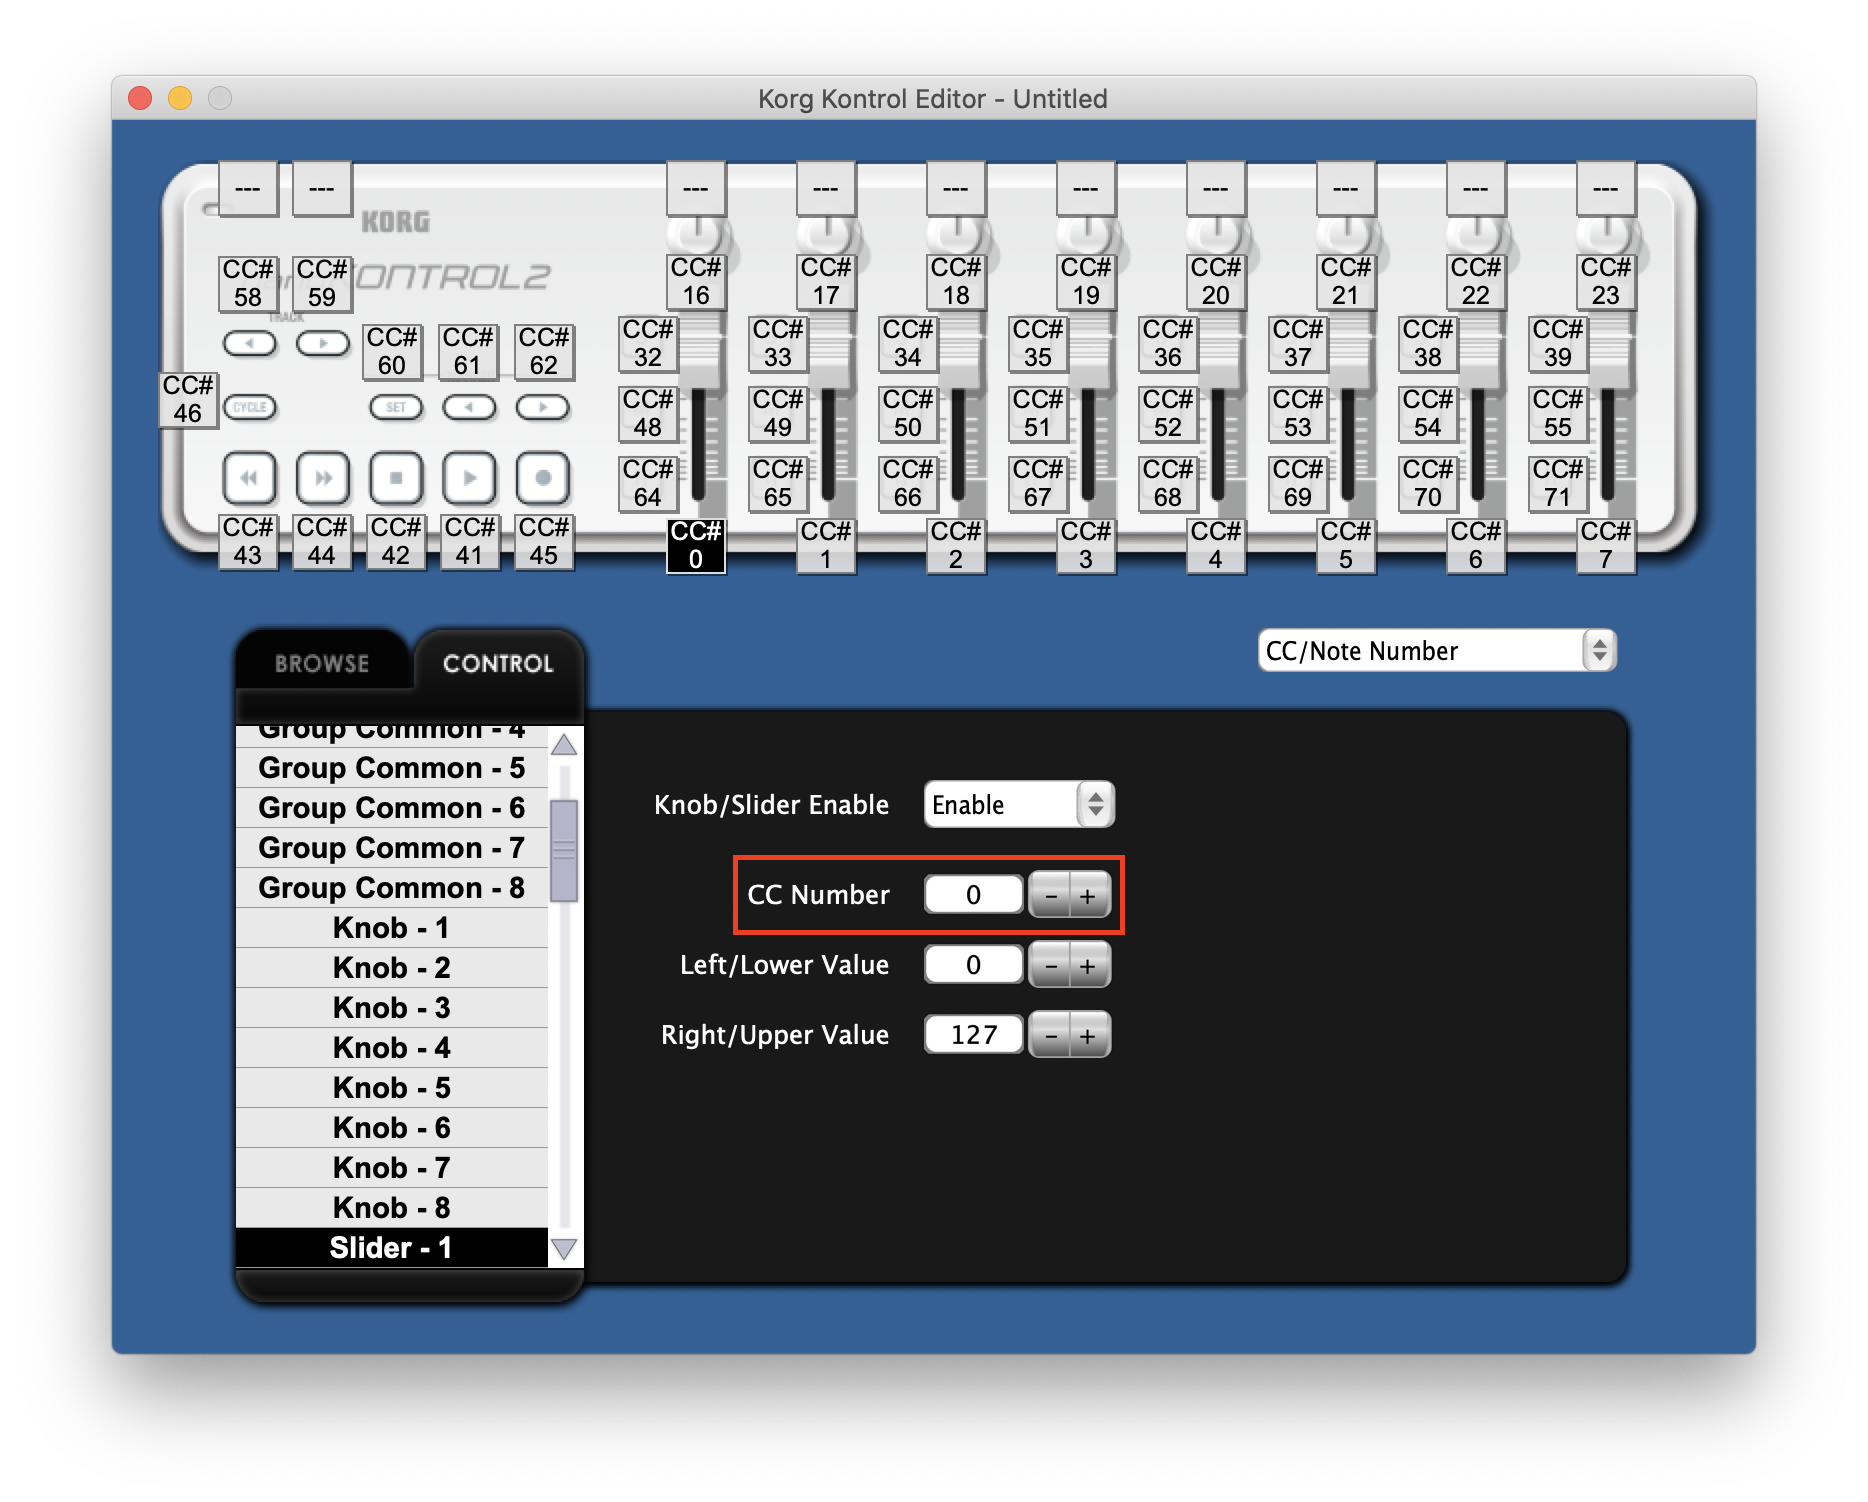
Once the desired changes have been made, you will need to click "Communication" and then "Write Scene Data" from the toolbar at the top of the screen.

The changes will then be applied and the controller will be ready to use!
For Logic Pro X Users:
The NanoKontrol2 may be automatically added as a Control Surface when opening Logic so that the device integrates with Logic's interface. If this happens, the above CC messages will still control Logic's faders, transport, panning and other functions, and the device will not work with the Expression and Dynamic controls in our plugin despite changing the NanoKontrol2 to MIDI CC mode. To disable the NanoKontrol2 as a Control Surface and re-enable the CC messages to the plugin, perform the following steps:
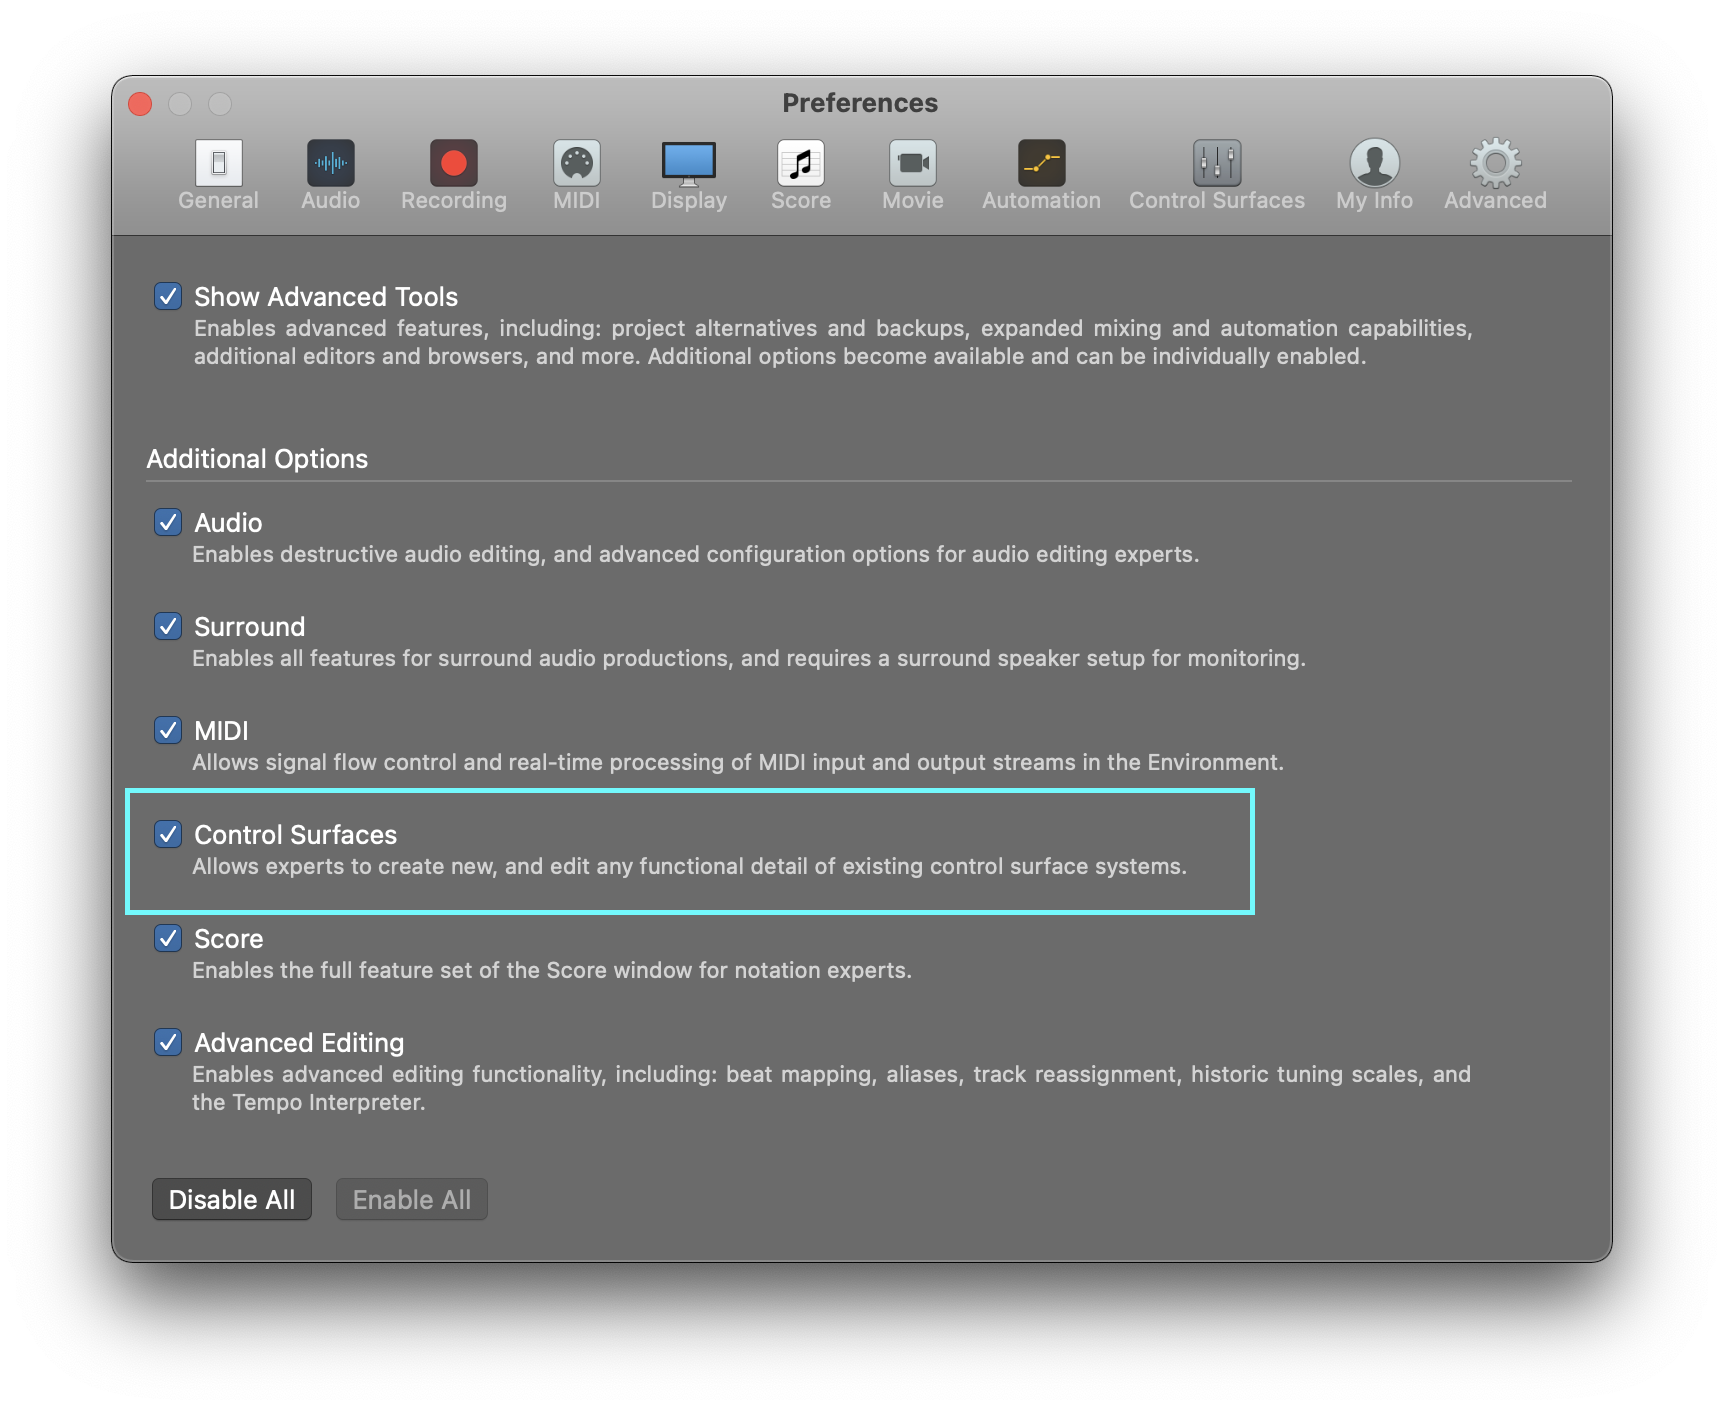
1. Go to Logic Pro > Preferences > Advanced, and make sure the Control Surfaces option is selected.
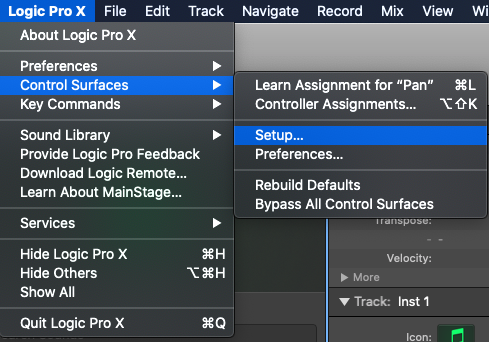
2. Go to Logic Pro X>Control Surfaces>Setup...
3. Select the NanoKontrol2 from the Devices menu on the right hand side
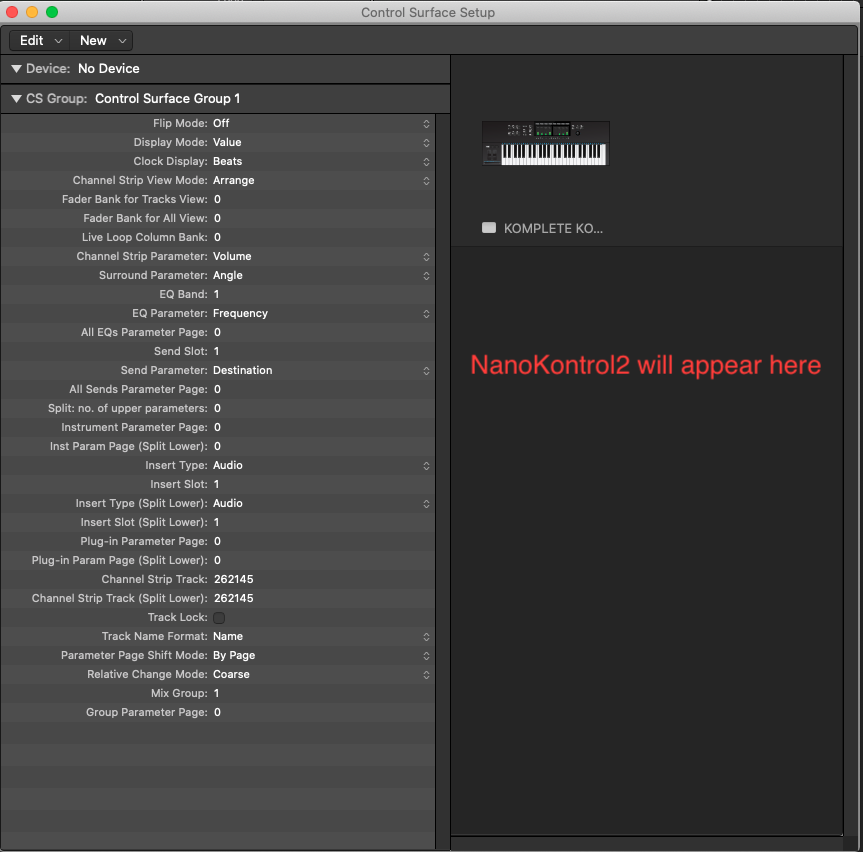
4. Select the NanoKontrol2 and press Delete to remove it as a Control Surface.